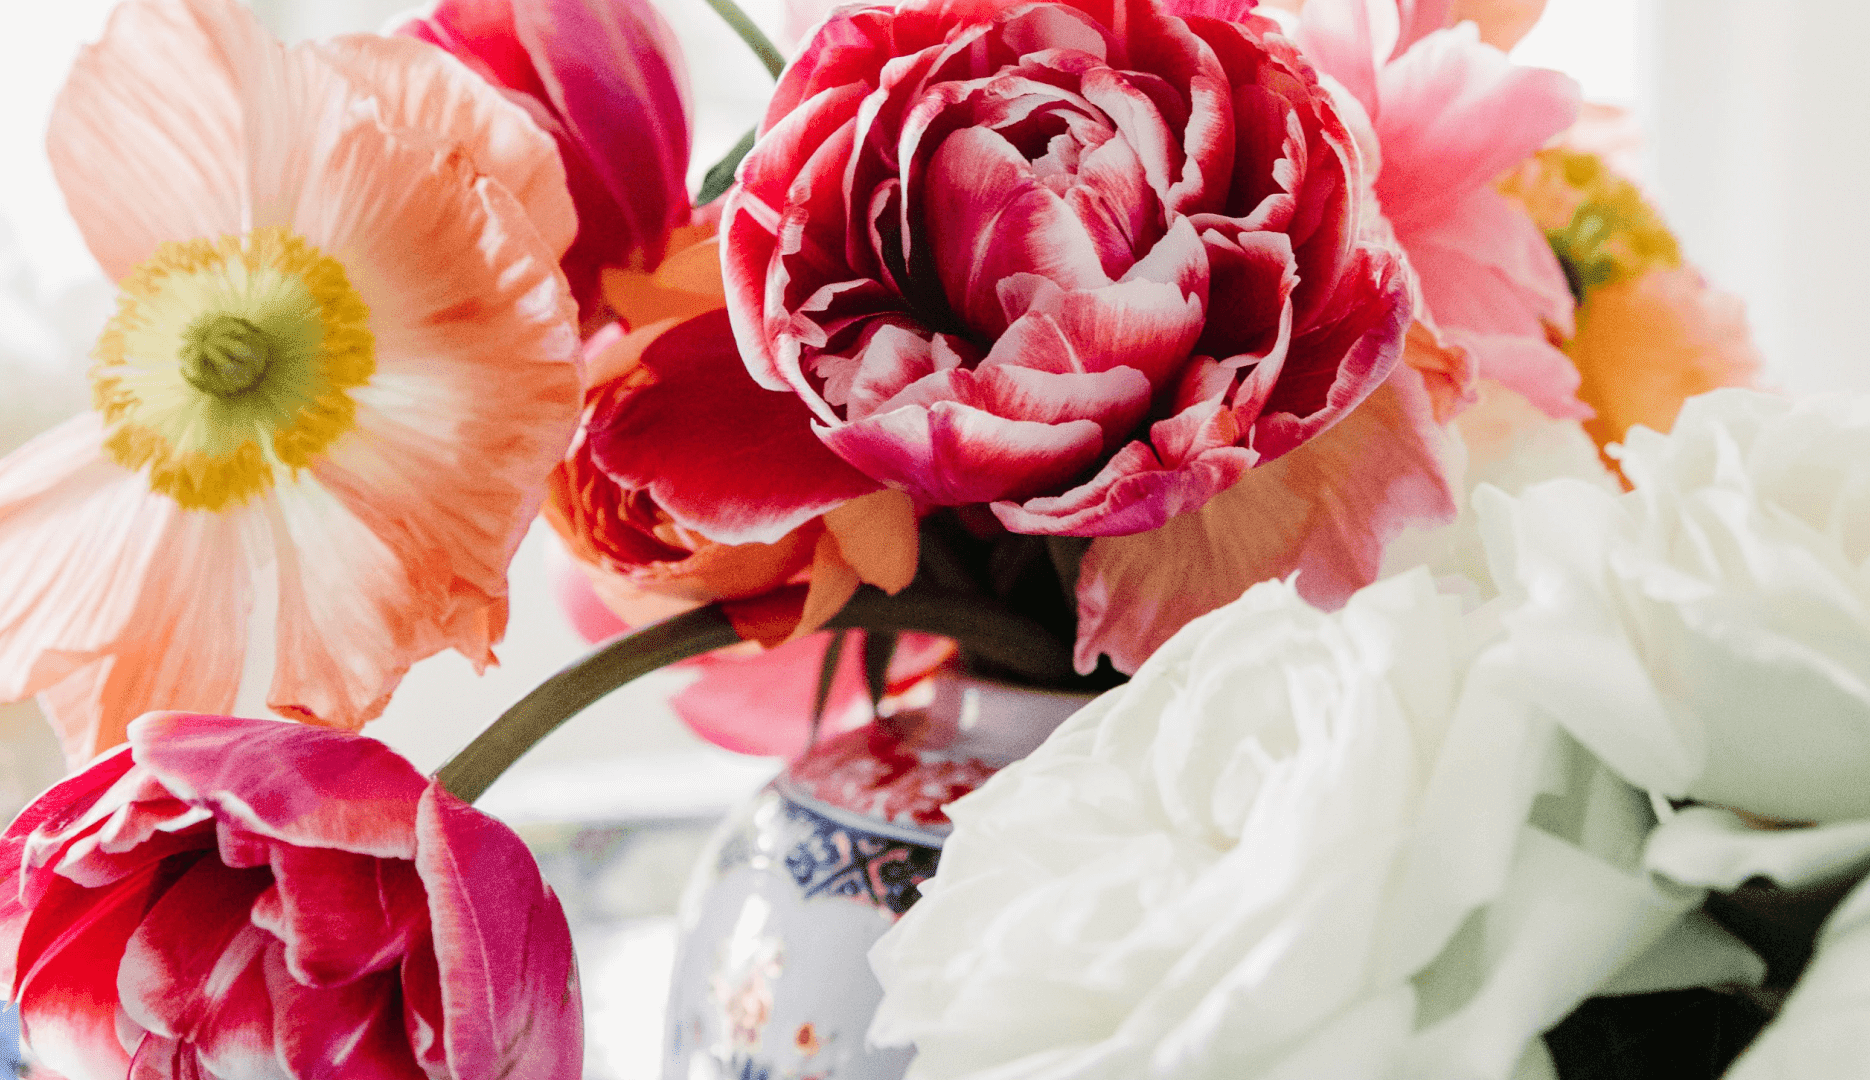
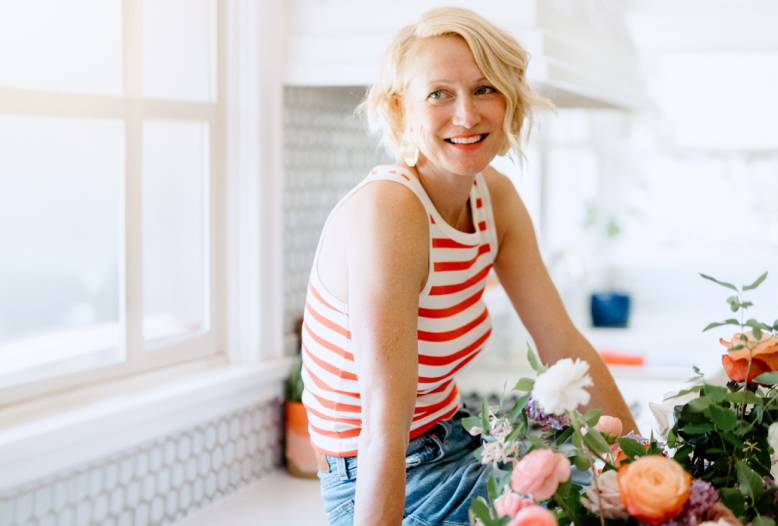
spray painting project…one of many to come:)

Tanya List

Ok…..so it’s officially fall, and the snow is going to come most likely in the next month or two…….this means it’s time to spray paint my life away….i’ve tried to paint in the snow, and lets just say hopefully i will never ever have to do it again!

Here is my first project of many:)

Real wood frames from the Bracebridge Re-store 4@8=$32

Paint (random left overs from other projects)= about 10$ish worth of paint

tanyalistdesign.tanyalist.ca.beforeframe

tanyalistdesign.tanyalist.ca.workbench

tanyalistdesign.tanyalist.ca.paintingsupplies

tanyalistdesign.tanyalist.ca.pinkframetanyalistdesign.tanyalist.ca.turquoiseframetanyalistdesign.tanyalist.ca.purpleframetanyalistdesign.tanyalist.ca.yellowframe

One of my fave pics of super-model Coco-Rocha wearing a crown that myself and Becky from Blush & Bloom made while working at Pink Twig, featured in FLARE magazine circa 2010.

tanyalistdesign.tanyalist.ca.yellowframe.cocorocha

The studio wall:)

tanyalistdesign.tanyalist.ca.studio.framedwall

turquoise signing table

Tanya List

The painting of the “signing table” was actually completed a few weeks back but i’m just getting a moment now to blog about it:)  I’m pretty excited for wedding season to wind down, not that i don’t love creating florals BUT……i have sssoooooooo many decor projects that need to get tackled here in my own house and a few new clients jobs to start…yyaaahhhh!

This signing table is actually used in my own front entranceway, this is now the second time i’ve painted it….i wasn’t totally in love with the first attempt, sometimes you just need a “re-do”, so i painted it “Capri Seas” from my local Benjamin Moore. Check out the before post http://tanyalist.wordpress.com/2014/03/06/grand-entrance-for-a-tiny-house/  I’ve also used it several times for a wedding “signing table” rental and photo shoots.

Before signing table and Mama List hard at work sanding:

photo 10

After:

photo

photo 3

Shell planters that i bought off my crafty friend Lynzie Kent

photo 8

photo 7

A little pic created by Reid (and Jenn from daycare):

photo 6

A little before & after: side table edition

Tanya List

Well it’s officially wedding season and the new business is in bloom:)  Not quite as much time to squeeze in home reno projects but here is a little one to tide you over:)  If you missed my earlier “bedroom makeover” please check out the rest.

before: grey ikea side tables that i’ve had for years, cute but boring:)

photo copy

after: gorgeous “nacho cheese” from the amazing Bracebridge Benjamin Moore

photo 5 copy 2

stencil chair makeover

Tanya List

While still living in Toronto i was out for a run and came across this chair on the side of the road.  I ran home and dragged ry back with me..(do we really need another chair Tanya????…says ry)…oh yes, yes we do…:)

I cleaned it up and left it in the sun all afternoon and it didn’t look half bad.  My intention was to get it re-covered completely in fabric, but then i came across these stencils on-line www.royaldesignstudio.com.  AMAZING.  Now all i’m thinking is, how many items in my house can i re-cover with stencils??!!??

Naked chair before:

Chair=$free on the streets of Toronto

     photo 13

Add some chalk paint (amazing paint product, can’t believe this is the first time i’ve used it)  For all colours=about $70

 (I have soooo much left over that it doesn’t even look like i touched the containers….tons more projects to do.)

Stencil from royal design studio, this one is called african plumes: $33

photo 15photo 14

Painting steps:

photo 12photo 10

photo 9 copy 2

Final product:

photo copy 4

photo 7 copy 2

studio floors

Tanya List

As the studio is still finishing up…..professional pics to come:)  I thought i would share a few more before/afters.

First start with the combo:

1 coat “cloud white” paint diluted 1/2 & 1/2 with water + 1 coat “golden oak”stain + 3 coats of polyurethane

= cheap, cool, durable flooring

photo 2 copy 2

plywood floors before/after:

photo copy 3photo 5 copy

photo 3 copy

Rolling tool kit.  I have to give the credit to Ry on this one….he is the “tool man/macgyver”.  He said that i must have one, and damn he was right….look at my storage!  Plus it’s made ridiculously well!!  This was the splurge on the room, although regular price it would have been just shy of $1500, Canadian Tire has a one day sale…..we got itn%60 off!!

Before, boring tool kit:

photo 22

After: amazing work bench.  I really wanted to get it professionally painted turquoise, but, for now it’s out of the budget. So for now i wrapped  some leftover grasscloth along the front to hide it’s black exterior.

photo 9 copyphoto 7 copy

Sconces before/after: i wonder how many cans of gold spray paint a girl can use??!??

photo 3photo 3 copy 2

sneak peek at my new studio space

Tanya List

All i can say is yyyaaaaaaaaaaaaahhh!  The studio is about 80 % done:)  It really does looks fantastic.  The natural light that floods in the space is priceless.  Here are a few before and afters that i would love to show you!

Here is a workspace that i’ve been dreaming about for years!

Table top, John at Muskoka Heritage Woodworking (amazing man)= $450

Butterfly beaded light, vintage shop on Queen St Toronto= $150

Amber globe light, the Good Will in Etobicoke= $8

photo 6

photo copy

Stool before & After:

Stools, homesense= $60 each

Coral Essance paint= Left over from Reids bedroom dresser

Leopard fabric= scrap’s from years ago


photo

photo 5

Mirror before and after:

Mirrors, Bracebridge Restore=$15 each

Spray paint, Home Depo= $20

photo 21photo 9

photo 4


sun-drenched dining room:)

Tanya List

The amount of sunlight that this new house brings in was the #2 reason for getting this house, #1 being on the water of course…:) We are probably going to save a ton of money, simply because we don’t need the lights on during the day its soooo bright!  The room living room/dinning room is starting to come together.  Still in need of an actual light fixture in the living room and a real gas fireplace (we were too late to get a gas line this year, we have to wait until the spring).  My aunt karen however lives down the street and she had an extra electric fireplace so we scooped it up for the winter:)

Dinning table made from an old door that i found while on a run in the city a few years back.  Ry cut all the cedar and i hammered every single dint in the table……i had a really wicked headache by the end…..but all i can say is that it’s one of my favourite pieces in the house.  In in total cost about $50 and about 4 hours to make.

photo 5

photo 6photo 8

Here is a small project that anyone can do in 30 mins.  All you need is a hot glue gun, rope and a vase.  Cost is under $10.

Before:photo 3  After: photo 11

View from my dinning room, priceless:

photo 7

Open concept dining/living room:

photo 4photo 2

some ribbon macrame

Tanya List

My newest obsession is with macrame. I’ve been cutting and copying images for months now. Never have i ever attempted it before, but i thought what the hell:)  I needed a little something for Reids bedroom that would add a touch more colour that wasn’t a painted piece of art.  So i googled macrame and found the easiest knot you could find.  I really hate following any pattern for what ever project i may be into……..so i just started randomly tying ribbons together.  Then, through on a few beads (that i’ve had in a box for years) and presto, macrame art for a little ladies bedroom:)

p.s this is a bit of a time consuming project for those of you who wish to try it at home…lol

photo 6


bottom:

photo 7

A little girls bathroom

Tanya List

Reid’s bathroom is slowly coming together:)  Here are some pics of some of the items collected and created in the last few weeks.  As always obsessed with homemade art and photographs people i know.  (New lighting, paint to come) If i could have it my way, i would decorate for little girls and little girls only……:)

I made this piece of art a few years back, looks amazing in Reids new bathroom:

photo-2 copy 8

Bathmat from home sense, shower curtain pom-pom sewn on by grandma:

photo-2 copy 6photo-2 copy 5photo-4

Sister (auntie kelly) riding a mini-pony….please pay attention to the smile on her face in all 3 pics!!!:

photo-2 copy 4

Ry and i at 8.5 months pregnant:

photo-2 copy 2Reid at 5 days old:

photo-2 copy 3

Welcome home to our coffee table

Tanya List

This plane prop table is not a new piece for ry and i.  Once our little lady was learning to walk, we put it away in storage for fear of her knocking her teeth out on it:)  Now that she is older IT’S BACK….yyyaaaa!

Ry acquired this prop when he was working as a pilot/plane mechanic up in Yellowknife.  Everyone thinks that ry bent the prop to make it “curl” like it is, but it was actually in a plane crash on the ice runway (no injuries) and this is the result.  Yup, pretty darn cool i must say.  I can’t take any credit for it though, this is all ry.  He got a piece of glass cut for it (tempered and bevelled) and used a wing bolt to hold it all together.  This table weighs a ton….maybe two:)

plane prop $free + glass 800= coolest coffee table out there.

photo 2


1 2

Contact Us

tanya@tanyalist.ca
416-409-8107 toronto and muskoka

Produced by CREATIVE ONE® | Copyright © 2023 Tanya List.